
Planning a Journal for the 100 Day Project
We put together a little video so you can make your own book for the #100dayproject! Enjoy, ask questions, and share with us on Instagram so we can see your projects too!
#qbbc100days
#quarantinebookbindingproject
#pegandawlbinds
Please note: this tutorial is specifically about page count. Click here for the full Bookbinding at Home Tutorial: Stitching a Coverless Journal.
In this video, I’m making two books at a time, both specifically made for the 100 day project. They are both the same size with just a few variations. I find this project to be a really nice reason to get out and observe the world.
 |
 |
When you’re making a book for a particular project, it’s really important to consider both paper size and page count of your book. I’m making this book for my 100 day project, so I’m going to consider how many pages I will need for the 100 days. Usually, I like to dedicate a full spread to one day, so I’m going to need double the pages, though in some instances, I’ll use one page per day.
Journal Page Planning

If your 100 day project will consist of one spread per day, then you will need 52 sheets, which is the size of one full page spread open. Once you fold a single sheet in half, it’s called a folio. You'll be putting 4 folios inside of each other and that will make up one signature. You will have a total of 13 signatures. That will give you 202 pages, not counting the front and back cover. The few extra pages can come in handy for notes or whatever you may want to add.
If you want to make a book that is dedicating one page to a day, then you will need 27 sheets. You’ll be putting 3 folios inside of each other, and that will make up one signature. You will have a total of 9 signatures. And this will give you 106 pages not counting the front and back cover.
Folio: A folded sheet
Signature: Gathering of folios
Leaf: One half of a folded sheet
Page: Each side of each leaf
Now that I’ve finished folding and tearing my signatures, I’m going to measure out where I want the textiles to be sewn onto the spine of the book. I’m going to start with my quarter inch ends – this is for the end knots.
 |
 |
 |
Usually, I would now put these signatures into a clamp, and use a ruler to connect the front and back markings in a straight line. However, if you don't have a clamp, these double-sided marks will help. In the video, you can see how I use a jeweler saw to make the holes, instead of poking them one at a time (once again, for full instructions: Bookbinding Tutorial - How to Sew a Coverless Journal).
Now I am just going to cut some of this wonderful vintage textile that I found in an abandoned house.
 |
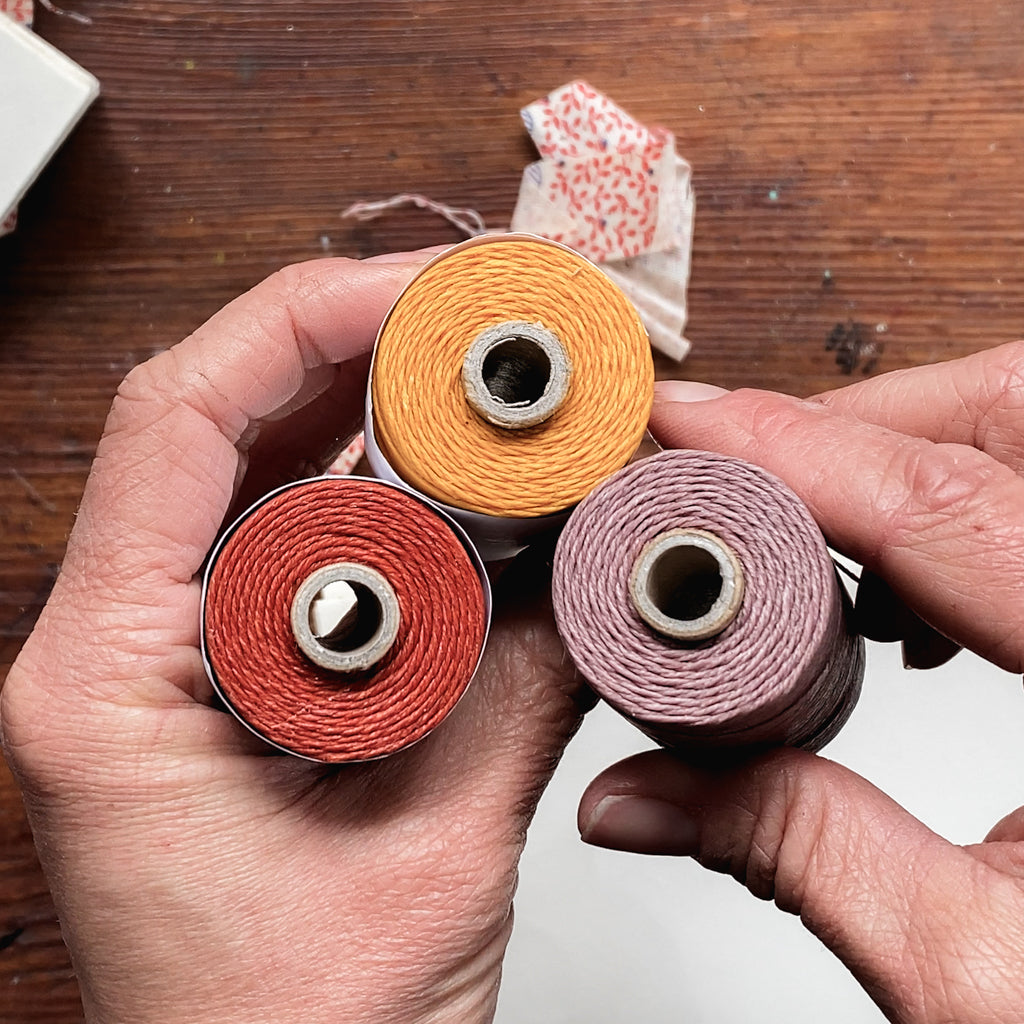 |
I have 13 of these signatures, and I’m going to measure 13 lengths of wax thread, slightly larger than the length of the spine. I don’t want a lot of extra thread, because the longer your thread is, especially for a big book like this, the more tangled it’s going to get while you’re sewing. Also, if you cut your thread too short so that you have less to manage, you’re going to have to knot it somewhere in your book, which is not a big deal (but I don't like doing it).
 |
 |
I have been incorporating antique materials of all kinds into the work that I do for most of my life. I love the stories that they hold, the character, and the quality of these old things. This fascination is what started me off on incorporating textiles into my journals.
My friend and I found all of Flossie’s dresses in the attic of her abandoned house; we washed them and wore them for years. We saw all the evidence of the patching and the stitching as these were likely from the depression era.
This red feedsack was originally stitched together to make a bag for grain, and then people would use the patterns and the normal cotton feedstock textiles to make clothes; so this was most likely the negative space from the pattern that was cut, and then they used a piece to tie the entire bundle together.
I am using this delightful leftover for my journal.
 |
 |
I’ve participated in this challenge for the last few years, as it encourages me to make marks daily. Some of the drawings in these sketchbooks took 5 minutes, others took hours. It doesn’t matter how long I spend with each drawing, just that I sat down to make some marks.
In 2021 I used Noodlers Black Ink (with the catfish on the front) and my left (non-dominant) hand for my 100 Day Project. I loved it so much that I've done it for nearly 300 days out of the year - that is three #100dayproject notebooks and a rather newly-skilled left hand!
 |
 |
 |
 |
Suggested Blog Posts
-


Whether embarking on a backyard exploration, a community science project, travelling near or far, or identifying mysterious objects around your house, these cards encourage observation, drawing, writing, and a touch of research. However you use them, we hope they inspire you to always keep an eye out for the little things!
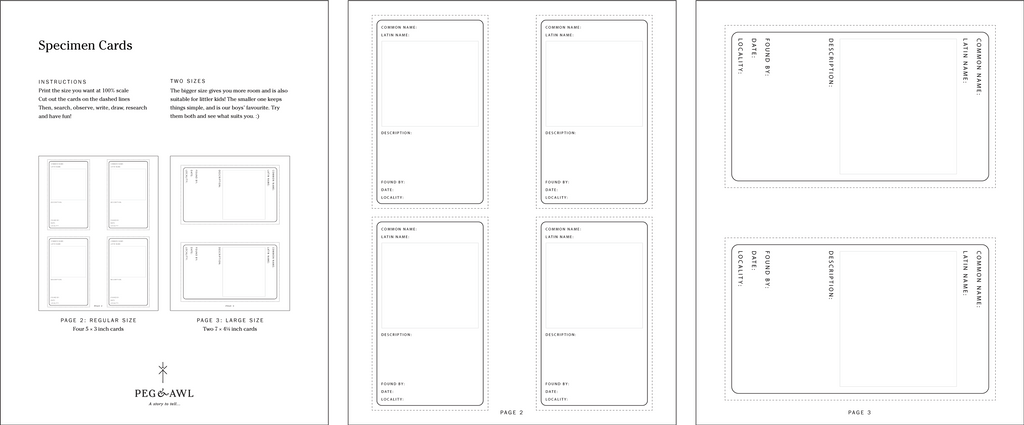
The world is bursting with magic, and for anyone looking, it positively pulses. As a family of life-long learners, we felt compelled to share a few of our favourite activities in one compact notebook of removable cards (coming soon!). We are now in our 4th year of officially homeschooling our boys, which means full time of the stuff we did around the edges of their ‘normal’ education at public school.
We love the unknown and the ‘around the edges’ stuff like family bike rides, traveling, and art all day, and have always found places like Kahn Academy and Skillshare, to be grounding companions. With so many students of the world currently homeschooling, or hodge-podge schooling via Zoom and Flipgrid (like we are!), we have decided (thanks Silas!) to unearth this Peg and Awl project have turned it into a free downloadable PDF: Specimen Cards!
Whether embarking on a backyard exploration, a community science project, travelling near or far, or identifying mysterious objects around your house, these cards encourage observation, drawing, writing, and a touch of research. However you use them, we hope they inspire you to always keep an eye out for the little things!


Silas drawing daffodils on a portable desk made by Søren! Silas shows me his mushroom specimen! 

Sampling of the coming soon Specimen Card notebook. Collection of Specimen Cards by Silas! 

Designing the Specimen Card book – including Silas's original drawings! Closeup of updated Specimen Card, nearly finalized! Specimen Cards + Homeschooling (Free Printable)
The world is bursting with magic, and for anyone looking, it positively puls...
Read The Post
Suggested Blog Posts


Whether embarking on a backyard exploration, a community science project, travelling near or far, or identifying mysterious objects around your house, these cards encourage observation, drawing, writing, and a touch of research. However you use them, we hope they inspire you to always keep an eye out for the little things!
The world is bursting with magic, and for anyone looking, it positively pulses. As a family of life-long learners, we felt compelled to share a few of our favourite activities in one compact notebook of removable cards (coming soon!). We are now in our 4th year of officially homeschooling our boys, which means full time of the stuff we did around the edges of their ‘normal’ education at public school.
We love the unknown and the ‘around the edges’ stuff like family bike rides, traveling, and art all day, and have always found places like Kahn Academy and Skillshare, to be grounding companions. With so many students of the world currently homeschooling, or hodge-podge schooling via Zoom and Flipgrid (like we are!), we have decided (thanks Silas!) to unearth this Peg and Awl project have turned it into a free downloadable PDF: Specimen Cards!
Whether embarking on a backyard exploration, a community science project, travelling near or far, or identifying mysterious objects around your house, these cards encourage observation, drawing, writing, and a touch of research. However you use them, we hope they inspire you to always keep an eye out for the little things!
|
|
|
|
|
|
Specimen Cards + Homeschooling (Free Printable)
The world is bursting with magic, and for anyone looking, it positively puls...
Read The Post
Comments
Margaux Kent
April 30, 2020Hello Linda! I bought them so long ago, and they NEVER break, so I don’t know what size they are – I got them from our local jewelry supply shop in Phila, but here is a listing on Rio Grande – https://www.riogrande.com/Product/HighQualityGermanSpiralWaxSawBladeHeavy/110067
I hope this helps!
LInda wElch
April 10, 2020First, thank you so much for these bookmaking tutorials. You’ve really given a gift with these. I loved your idea of using a jewelers saw to make the holes in the signatures. I have an old jewelers saw I could use. Could you please give me the specifics on the blade you use? I couldn’t quite make it out in the video. Thanks, again, so much!