Blog
-
We’ve made another video installment to our Bookbinding Tutorials – this one is in response to all of the detailed questions you’ve been asking about our materials. I’ve also shared a little of my bookbinding history—where you can see my old falling apart journals as well as some insides and a variety of antique leather outsides!

We’ve made another video installment to our Bookbinding Tutorials – this one is in response to all of the detailed questions you’ve been asking about our materials. I’ve also shared a little of my bookbinding history—where you can see my old falling apart journals as well as some insides and a variety of antique leather outsides!
Chapters:
0:00 List of Materials
0:32 How Margaux Got Started Bookbinding
1:37 Margaux’s Early Journals
2:59 Overview of Materials
3:31 Thread
4:07 Needle
4:38 Tape
5:14 Headband
5:38 Mull
5:49 Glue
6:03 Cover
8:32 Paper
9:07 ConclusionBookbinding at Home Part 4: Materials and Meanderings
We’ve made another video installment to our Bookbinding Tutorials – this one ...
Read The Post -
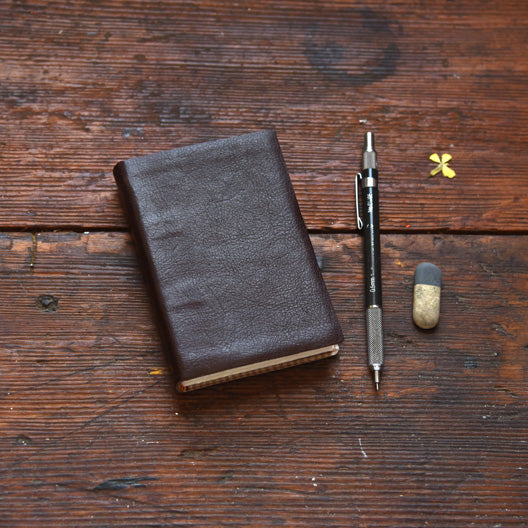
Here is the last video in our first bookbinding tutorial series: Bookbinding at Home. Thank you all for following along and sharing your books. We are so psyched to see all of the books that have come out of these tutorials!


Here is the last video in our first bookbinding tutorial series: Bookbinding at Home. Thank you all for following along and sharing your books. We are so psyched to see all of the books that have come out of these tutorials! We hope you find comfort in the process of binding your books as well as filling them. There is certainly a lot to document right now— in both pictures and words.
We love seeing your books and sharing in our Instagram stories and posts (@pegandawl) – be sure to use #quarantinebookbindingclub and/or #pegandawlbinds on your social media posts so we can find you!Project No. 3: Covering a Journal with Leather
Here is what you will need:
Leather – If you have scrap, an old jacket or wallet, anything soft and malleable, have it ready! Scraps of many colors are also available from many sellers on Etsy.
Fabric – This will replace mull (a starched cheesecloth) that will be glued directly to your book block to strengthen your book.
Thread – For the headband. Aim for something thick that will take up space. You can also use a pre-made headband.
Scissors – For trimming your cover. If you are using leather for your cover, make sure they are sharp!
Hammer – For shaping your book block. Be sure it is clean as it will be coming in contact with your paper! (I used a rock hammer and my pages don't hide it!)
Glue – For gluing your leather to the front and back covers of your book. Elmers works!
Heavy Book – This will be your book press! Any heavy book will do, though I find art books (and their dense pages) perfect for the job!Bookbinding at Home Part 3: Covering a Journal with Leather
Here is the last video in our first bookbinding tutorial series: ...
Read The Post -
So here we are again – still at home and pleased to share our next installment of our Bookbinding at Home series! We hope you have found some small things to enjoy in this time of truly slooooowing down. For me it is always the small things that brighten my days, like watching Toots and Yedda – our goose landmates – and transforming a pile of field stone into an elegant yet makeshift garden path!
As for the tutorials, we are learning a lot (we hope you are too) and are so grateful for everyone who is joining us!


Bookbinding at Home: Part 2
So here we are again – still at home and pleased to share our next installment of our Bookbinding at Home series! We hope you have found some small things to enjoy in this time of truly slooooowing down. For me it is always the small things that brighten my days, like watching Toots and Yedda – our goose landmates – and transforming a pile of field stone into an elegant yet makeshift garden path!
As for the tutorials, we are learning a lot (we hope you are too) and are so grateful for everyone who is joining us!
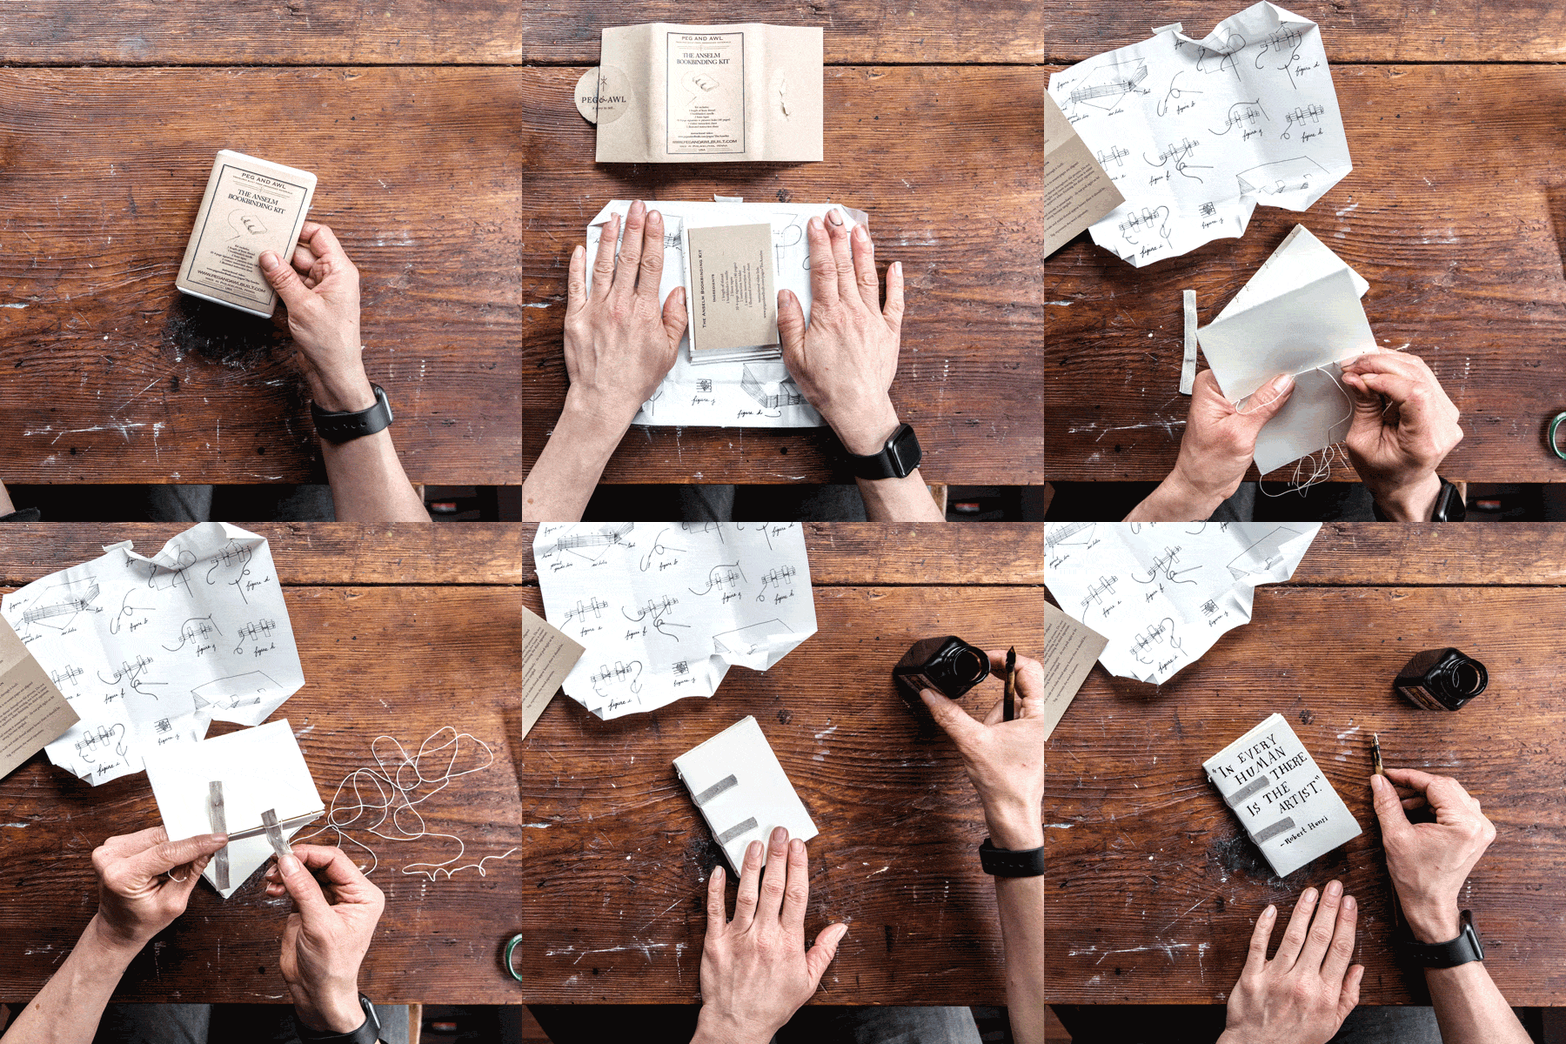
Project No. 2: Stitching Signatures for a Coverless Sketchbook


Here is what you will need:
1. Needle – bookbinding needles have roundy tips and big eyes, but most needles will work!
2. Thread – any thread will do. If it is super thin, double it up.
3. Pencil – grab your favourite pencil to plot your stitching holes.
4. Paper – this is for the inside. Do you like lined paper, sketch paper, the back of used paper, graph paper? Gather your favourites, mix ’em up or stick to one!
5. Thumbtack – or something sharp to poke holes through paper and cardstock.
6. Scissors – for snipping your thread.
7. Fabric – this will serve as your linens that will hold the book together. Happy treasure hunting!
8. Glue – to glue your fabric to the front and back covers of your book. Elmers works!
We get most of our bookbinding tools and materials from Talas, including needles, thread, linen tape and other materials we haven’t explained yet. The waxed thread that I am using is a 3 ply waxed Irish Linen thread.
We love Strathmore drawing paper for our journals and find that and other supplies through Artist & Craftsman. Both the latter and Talas are small companies who have shut down their physical locations but are currently taking online orders and shipping!
As for covers, vintage textiles, needle boxes and vintage tools – you can find all kinds of unexpected magic at home as well as on Etsy and eBay. We at Peg and Awl absolutely encourage creativity in materials and tools, and finding vintage stuff is a nice way to reclaim some of the excess of items that already exist on our planet. This is also a way to make your project and your desk specifically yours!
Bookbinding Glossary
Sheet: The unfolded paper pages that you start your project with
Folio: A folded sheet
Signature: Gathering of folios
Leaf: One half of a folded sheet
Page: Each side of each leafPlease share your little books with us with hashtag #quarantinebookbindingclub – we’d love to see what you are making, and share the results!
The Next Step…
Continue on with our next bookbinding project: covering a coverless book! We will only be covering a book, so bring your coverless book from this project to the next installment.
And While You’re at Home…
If you are housebound or feeling antsy, there are oodles of projects online and on Instagram. I’ve found inspiration from The Good Ship Illustration’s drawing guide The Sketchbooker’s Friend. The first tip is pretty great:
NO PHONES. Don’t take a photo, then draw from it. Don’t finish your drawing at your desk later. It is NOT ALLOWED and we are very strict!
Bookbinding at Home, Part 2: How to Stitch a Coverless Journal!
Bookbinding at Home: Part 2 So here we are again – still at home and please...
Read The Post -

Bookbinding at Home
The state of the world – and the pause it is giving – has me thinking about and enjoying the small things in life – like wild violets, meringue cookies, and the scritchy-scratchy sound a pen makes. It has also brought me back to the early days of making books, and the small things that made them so special.
As a result, we have put together a long overdue tutorial on bookmaking. I have prepared a list of things you will need to make your first notebook. This is a very simple start—you can use materials that you have at home and anyone, any age can join in! So, let’s make books!
Project No. 1: Single Signature Notebook


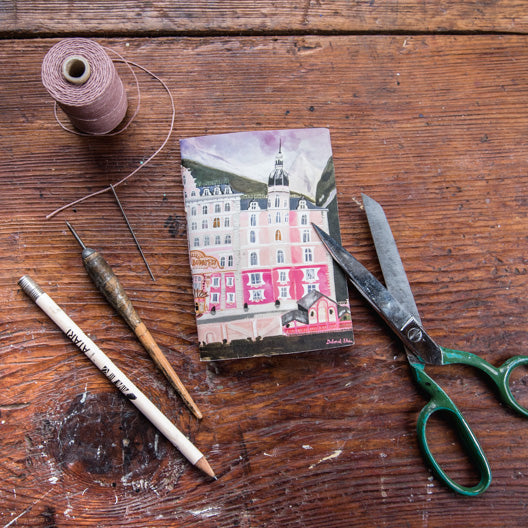
Postcard by @deborah.j.stein Card by Egg Press and tea box from Yogi Tea Here is what you will need:
1. Needle — bookbinding needles have roundy tips and big eyes, but most needles will work!
2. Thread — any thread will do. If it is super thin, double it up.
3. Pencil — grab your favourite pencil to plot your stitching holes.
4. Paper — this is for the inside. Do you like lined paper, sketch paper, the back of used paper, graph paper? Gather your favourites, mix em up or stick to one!
5. Cover – raid your recycling bins and cupboards for tea boxes or snacks whose boxes you adore. Use this time to clean up your drawers find postcards and note cards saved. All of these things make wonderful covers for little book!
6. Thumbtack – or something sharp to poke holes through paper and cardstock.
7. Scissors for trimming your cover.
If you have everything on this list at home, great! If you don’t and wish to order online – PLEASE consider buying from small businesses and Etsy sellers who REALLY need everyone’s support.
Visit our blog for the how-to process video! Please share your little books with us with hashtag #quarantinebookbindingclub – we’d love to see what you are making, and share the results!
Coming Soon…
Stay tuned for our next bookbinding project: a coverless journal like our Anselm Bookbinding Kit! You do not need the kit to join, but if you’d like to get started with one (it includes a bookbinding needle!), find them on our shop.
If you are housebound or feeling directionless, there are oodles of projects online and on Instagram including the #quarantineartclub hosted by @CarsonEllis, a live book club for kids by @MacBarnett, and, coming up – one of my personal favorites, the #100dayproject!
Bookbinding at Home, Part 1: How to Stitch a Single Folio Sketchbook
Bookbinding at Home The state of the world – and the pause it is giving...
Read The Post


